
Propagating a Monstera Plant
Monsteras have been blowing up the damn internet for a couple years now, and it seems their popularity isn’t dying down anytime soon. Me? I’m not mad about it. I absolutely love these tropical babies and my house is riddled with them. Whenever I have people asking for cuttings, this is always the top pick.
Luckily Monstera plants are incredibly easy to propagate and genetically designed to fill back in quickly when cut back. I’m going to go over a few tips and tricks for propagating a Monstera plant, rooting it, and replanting it to create an entirely separate plant.
Step 1: Making the Cut
A single leaf isn’t enough to propagate a Monstera. If you cut a leaf off the plant, unfortunately, this is all it will ever be. Even if you cut a leaf off the top of a plant, it’ll only ever be a leaf unless you also cut off a root node with it.
What is the root node?
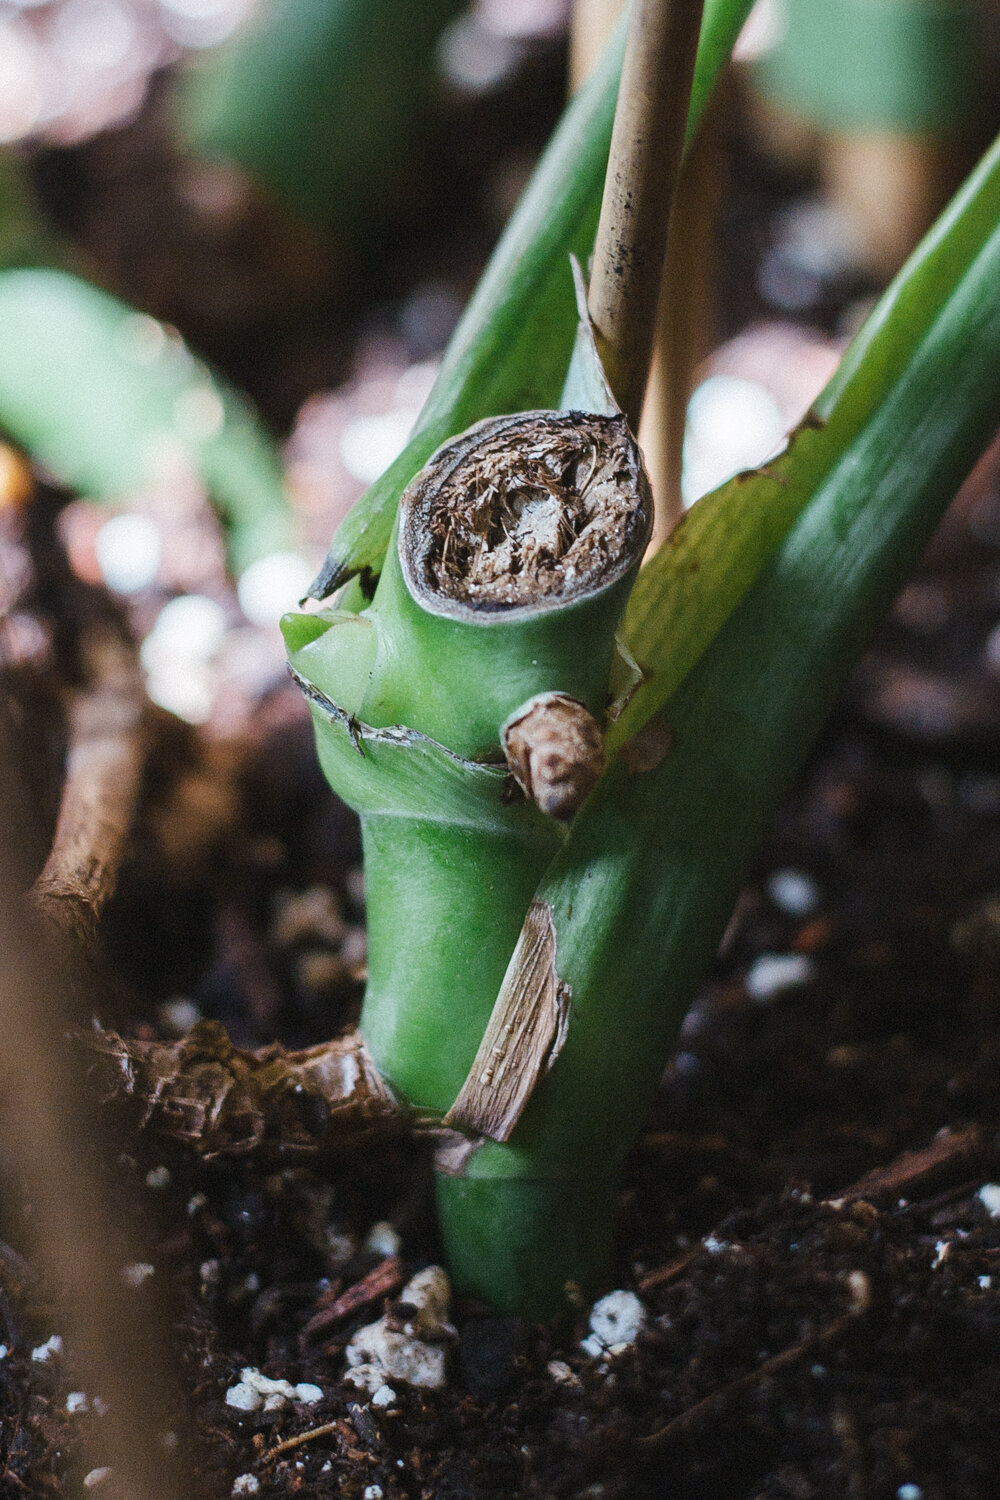
Easy. When looking at the stem of a Monstera plant, you might see a few little brown protrusions that are called root nodes. Since the Monstera Deliciosa is actually a climbing canopy plant, it shoots off these root nodes that turn into long aerial roots used to attach to other trees/plants and eventually climb up to the top of a forest canopy. If not cut back they can eventually grow really long (I like to braid mine as seen below).


All of this to say, it is absolutely imperative your Monstera cutting includes a root node. Without it, your cutting will never grow its own root system.
Step 2: Rooting in Water
Once you’ve got your cutting (with a root node), plop that baby in a glass of water in a bright indirect-lit spot in your house. A little late afternoon or early morning direct sunlight is ok, but try not to keep your cutting in hot afternoon heat.
It will take a while for you to start seeing growth, but when you do, brand new white roots will start to slowly grow from the original dark brown root node.

Step 3: Planting Your Cutting
It’s recommended that you wait until the new roots growing in water are about 4-5” long before transitioning it to soil. Any smaller and there is a chance the roots won’t take, and your cutting will die.
When it’s time, plant your cutting in a small 4-6” pot with a well-draining indoor potting mix. Lightly pack the soil, give it a good drink of water, and place it in the same spot you were rooting the cutting. Give it about a week to settle in before you check on it and water it again.
Make sure the soil starts to dry out a bit before you water it again.
Your cutting will eventually shoot off a brand new tinly leaf shoot. This small leaf will produce another leaf, and eventually more just like any other monstera. You can see an example of the new shoot start in the photo of the cutting above in Step 2.
Step 4: Watch Your Monstera Fill Back In
Your parent monstera plant will look a little bare at first, but eventually (like your new cutting) it’ll shoot off a brand new leaf shoot as well! This new shoot is where all your new leaves will come out moving forward.


The first couple new leaves will be very small, and will gradually grow larger and larger.


Before you know it, your monstera plant will start to fill in until you have a big bushy plant that you can propagate from again!